Now, when you have your first schemes made, let's see how to manage them properly.
On the Schemes page, you will see a list of your schemes and drafts. Hovering your cursor over a scheme will show a pop-up window displaying the type and version number of the scheme.
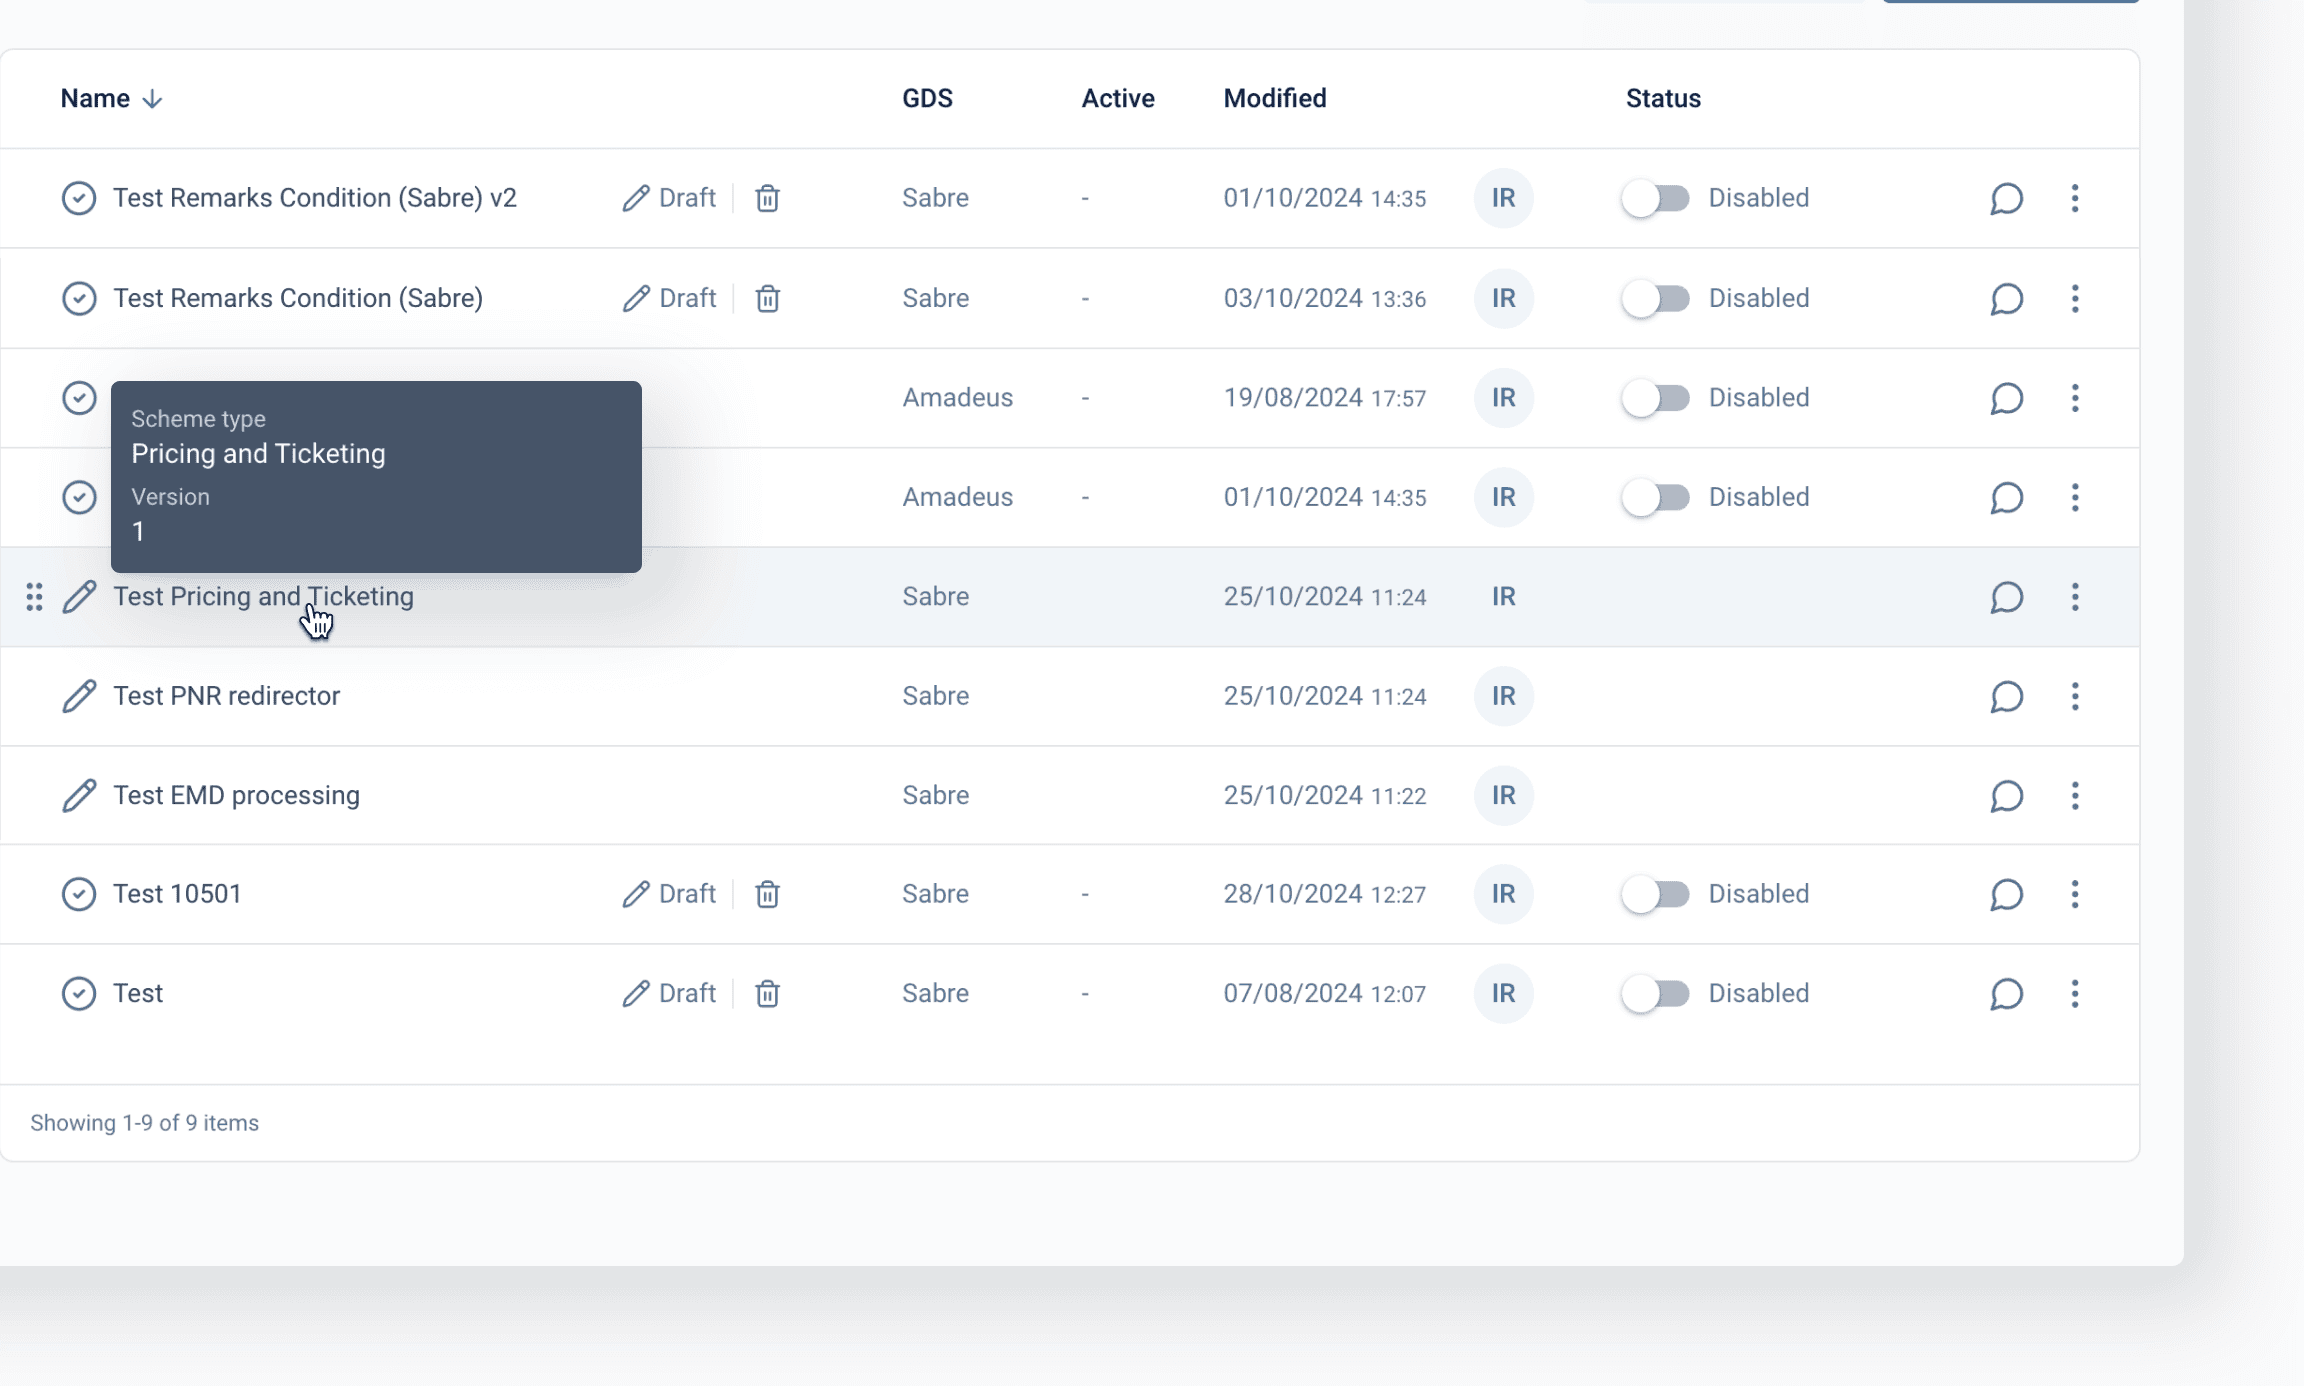
To the left of the scheme name, you will see one of the following signs:
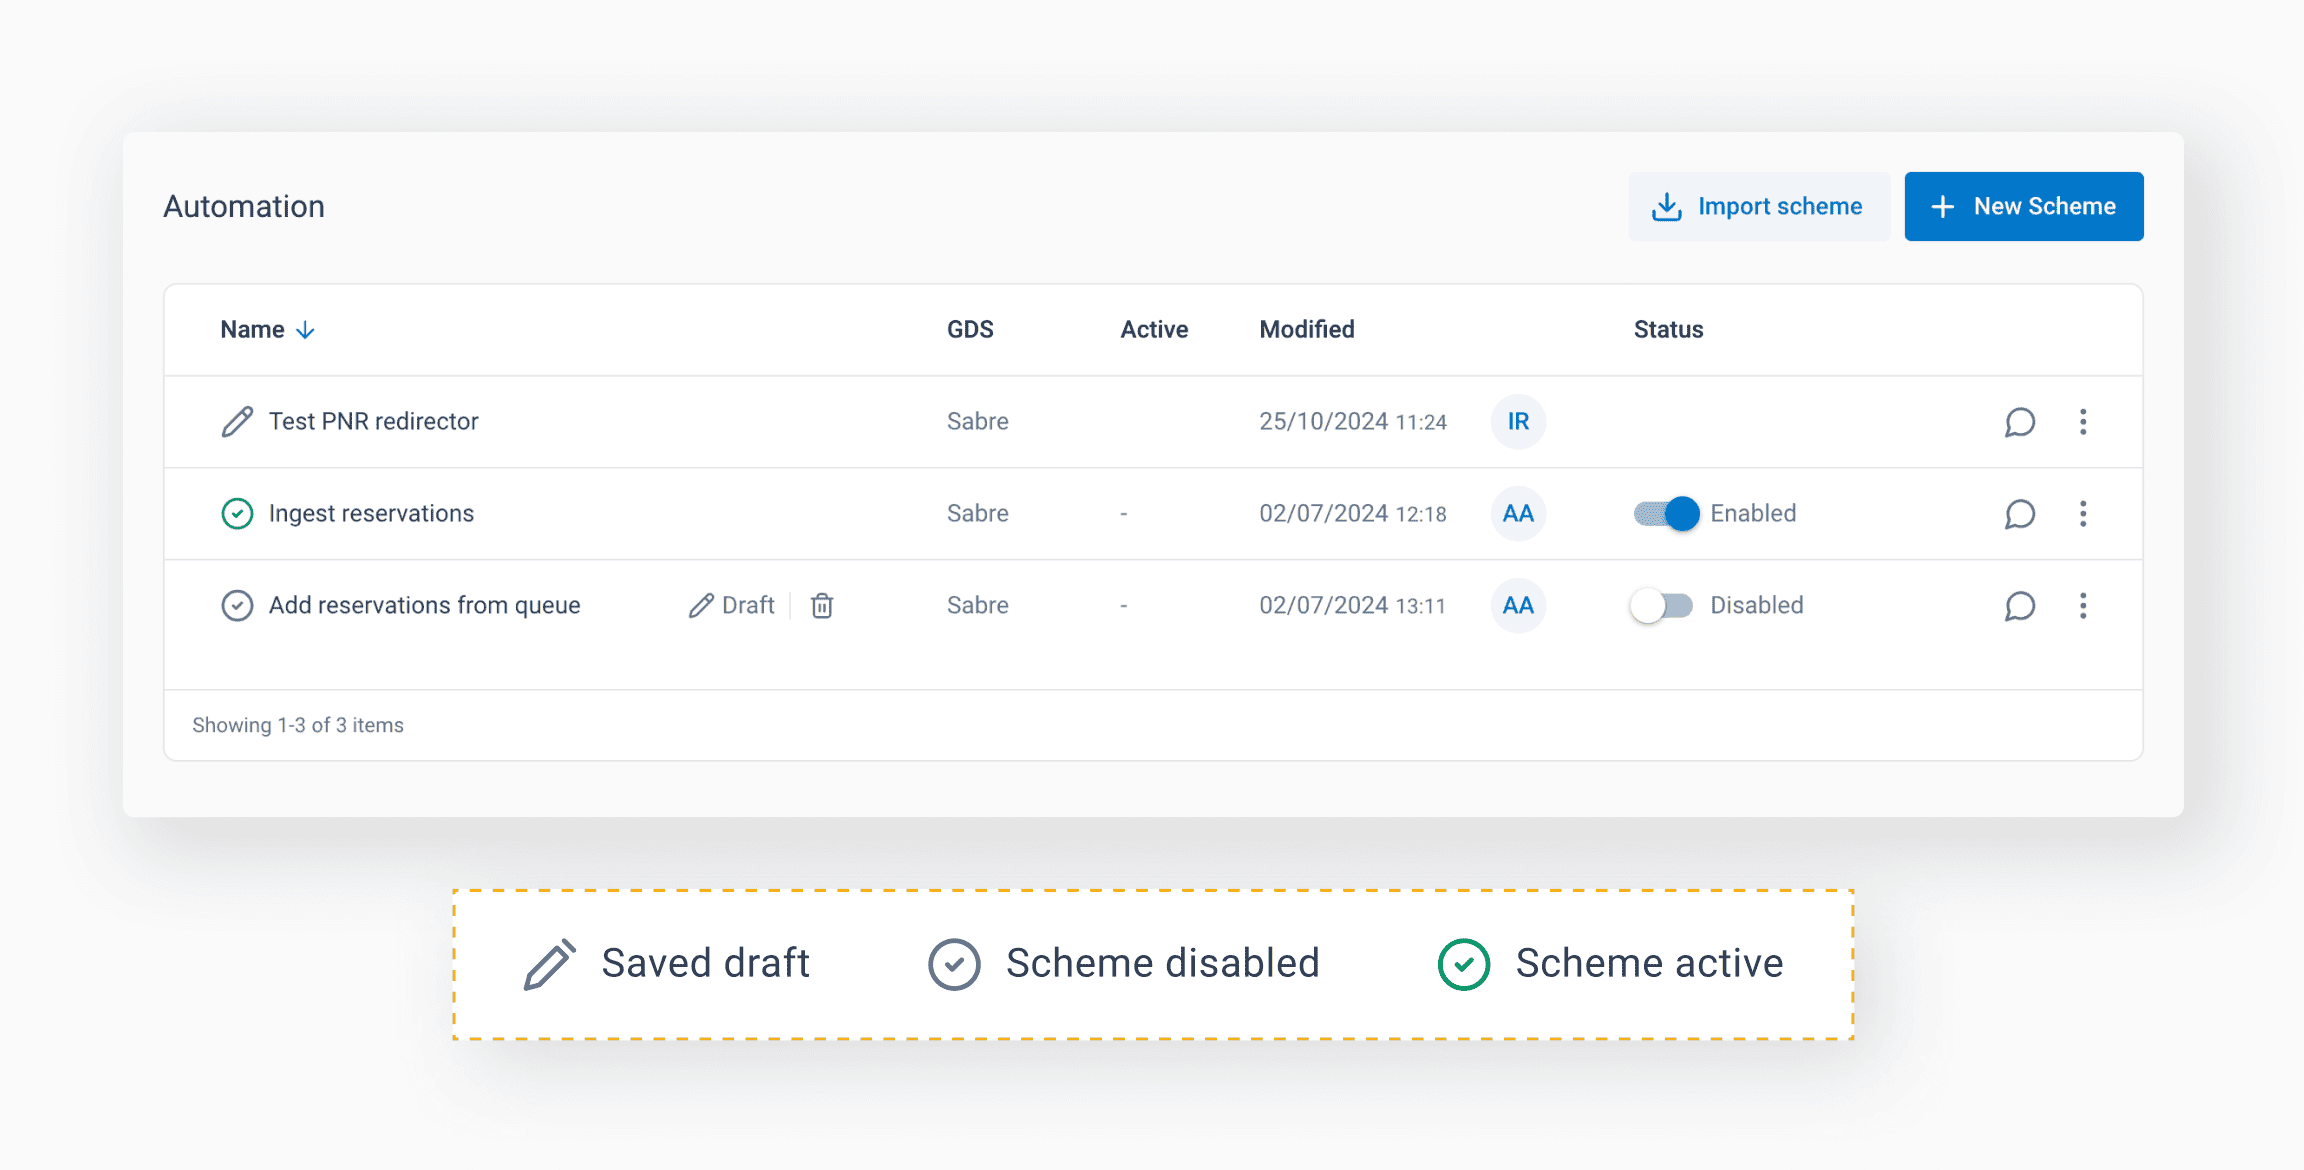
- Pencil – Saved draft
- Gray circle – Scheme is disabled
- Green circle – Scheme is active
To organize your schemes, you can create folders and sort the schemes into them.
To move a scheme into a folder, press the "Dots" icon to the left of the scheme status, hold down the left mouse button, and drag the scheme to the desired folder.
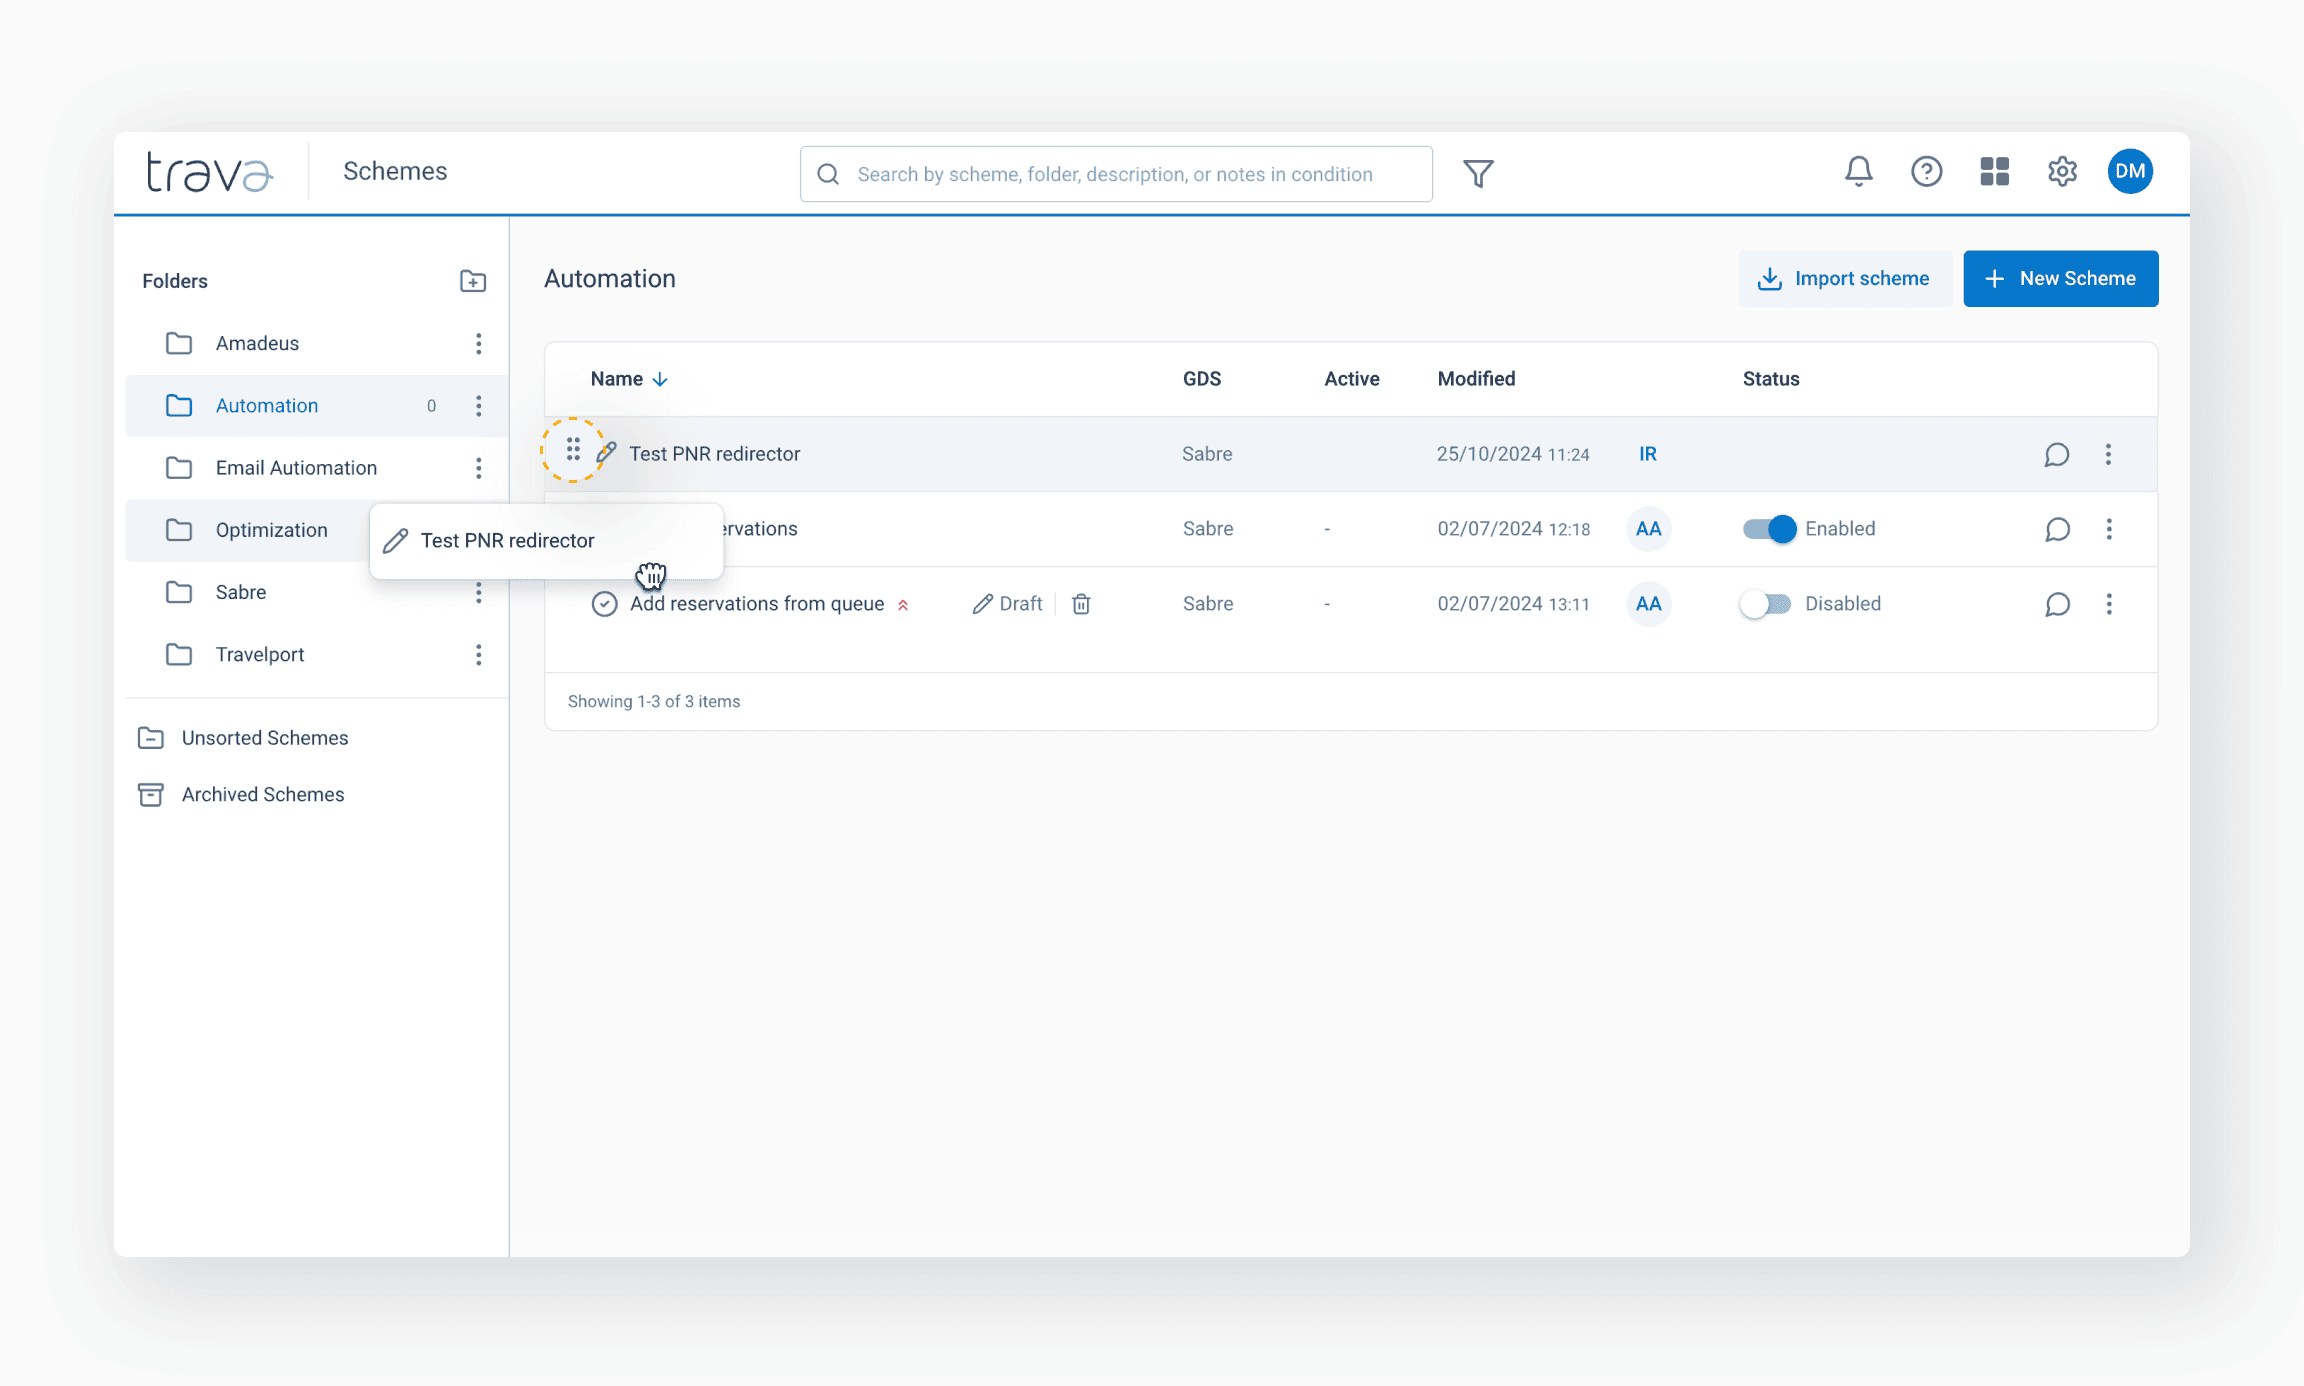
The 'Red arrow' indicates that the scheme has high priority. Reservations related to it will be processed first.
- GDS – a reservation system that the selected scheme works with.
- Active – number of objects being processed according to this scheme. Depending on its type, these can be PNR or documents that are not in the Complete status (i.e., they are in the Pause or Repeat stage).
- Modified – date, time, and author of the last changes. When hovering over the date, you will see the date, time, and author of the scheme's creation.
- Status – current state of the scheme. You can activate or deactivate it using the switch.
If you plan to disable the scheme, make sure to check the Active column first. If there are PNRs being processed at the time of disabling, it will not be completed, and manual activation will be required (see System monitoring).
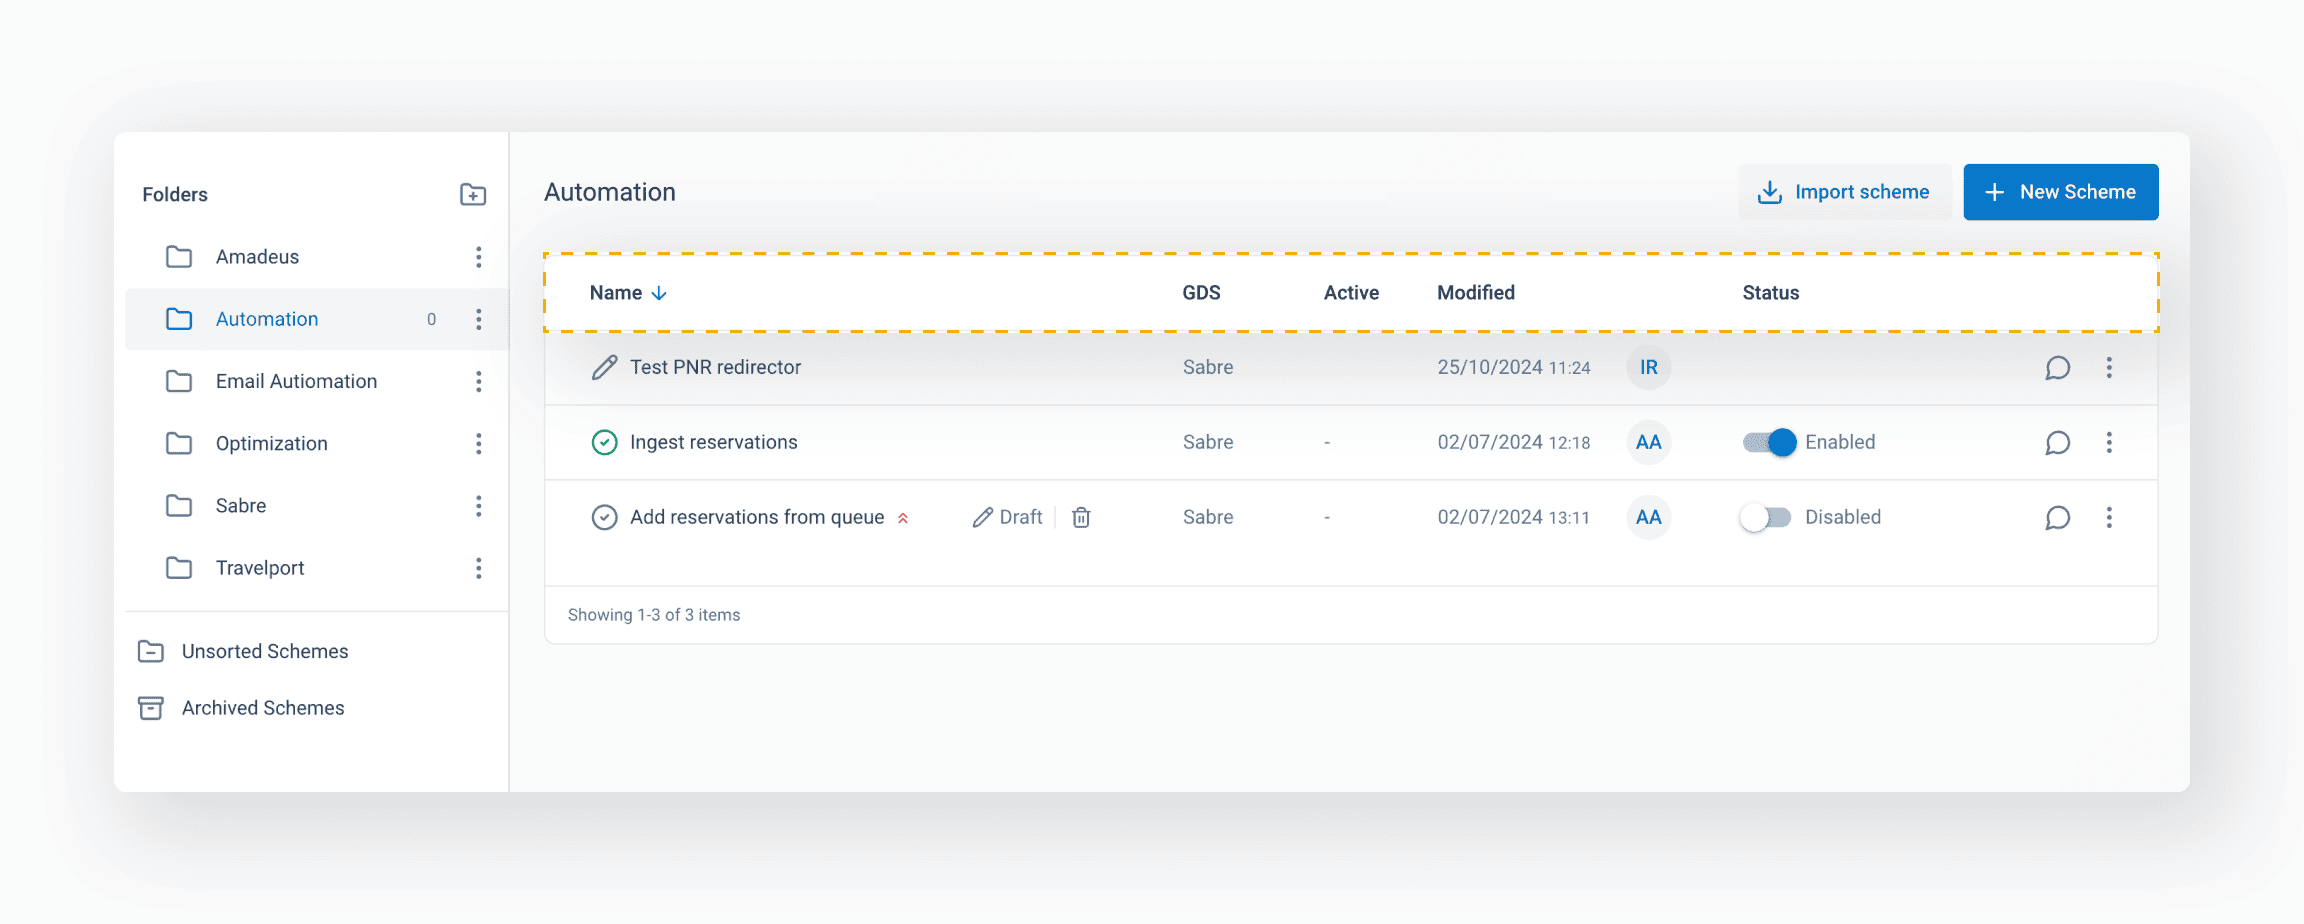
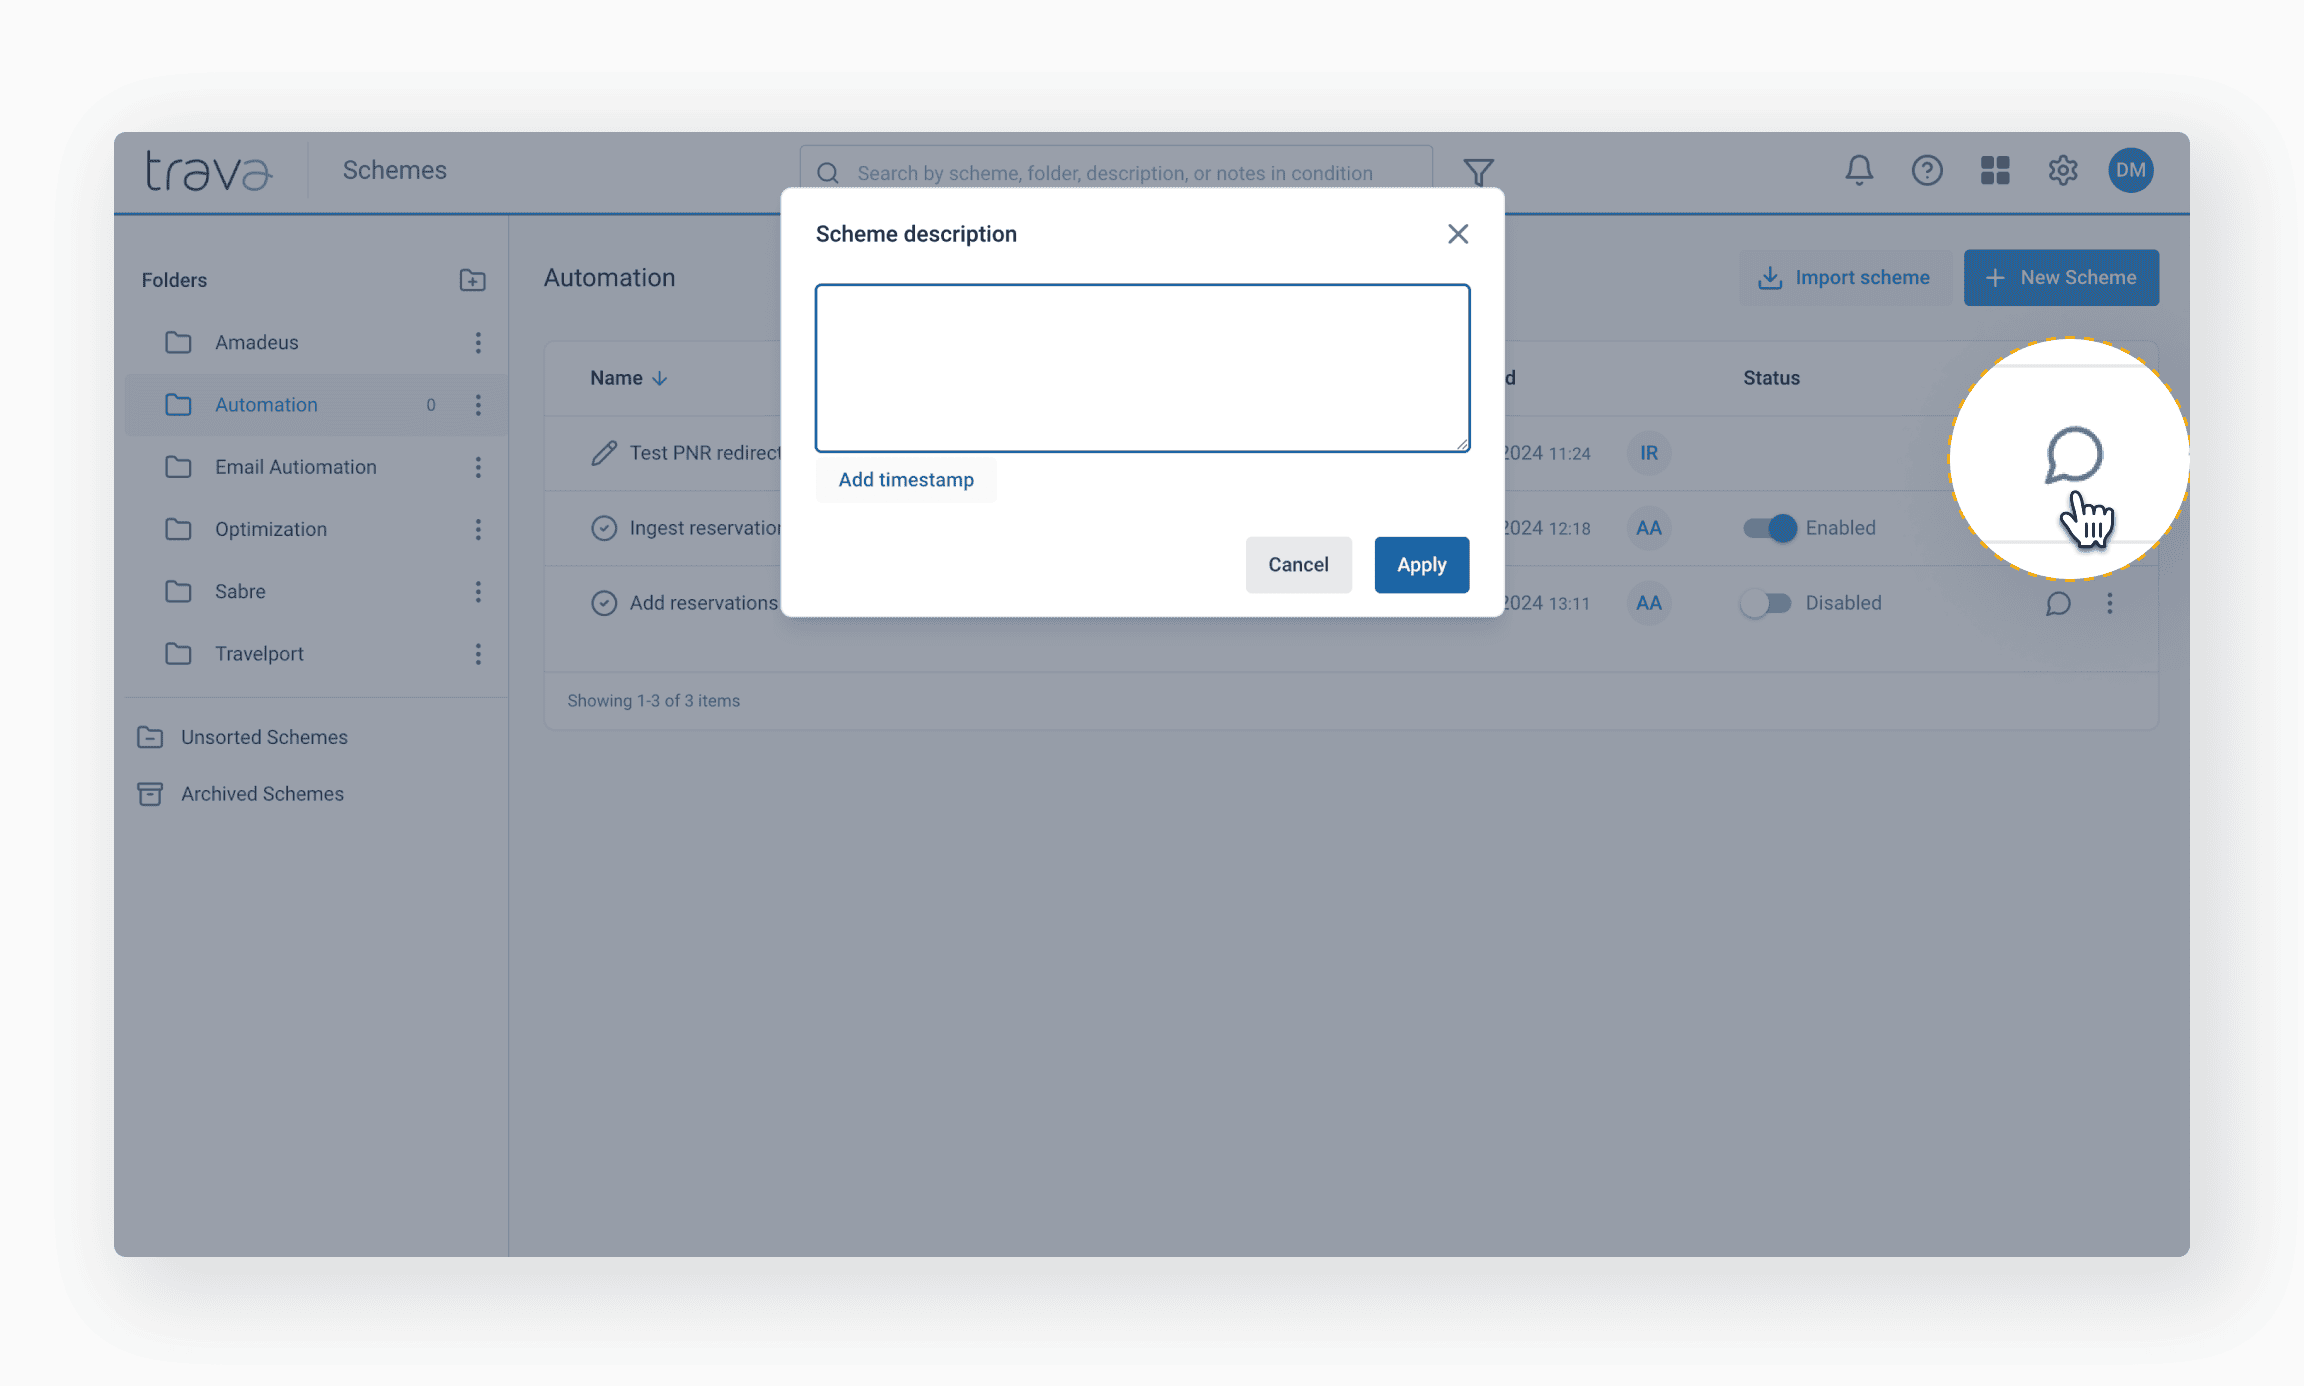
At the end of the line, there is also an icon for adding comments. By pressing it, you can add comments or notes to the scheme. For example, you can describe the main idea of the workflow.
Add timestamp allows you to automatically add a note, including the user and the current date.
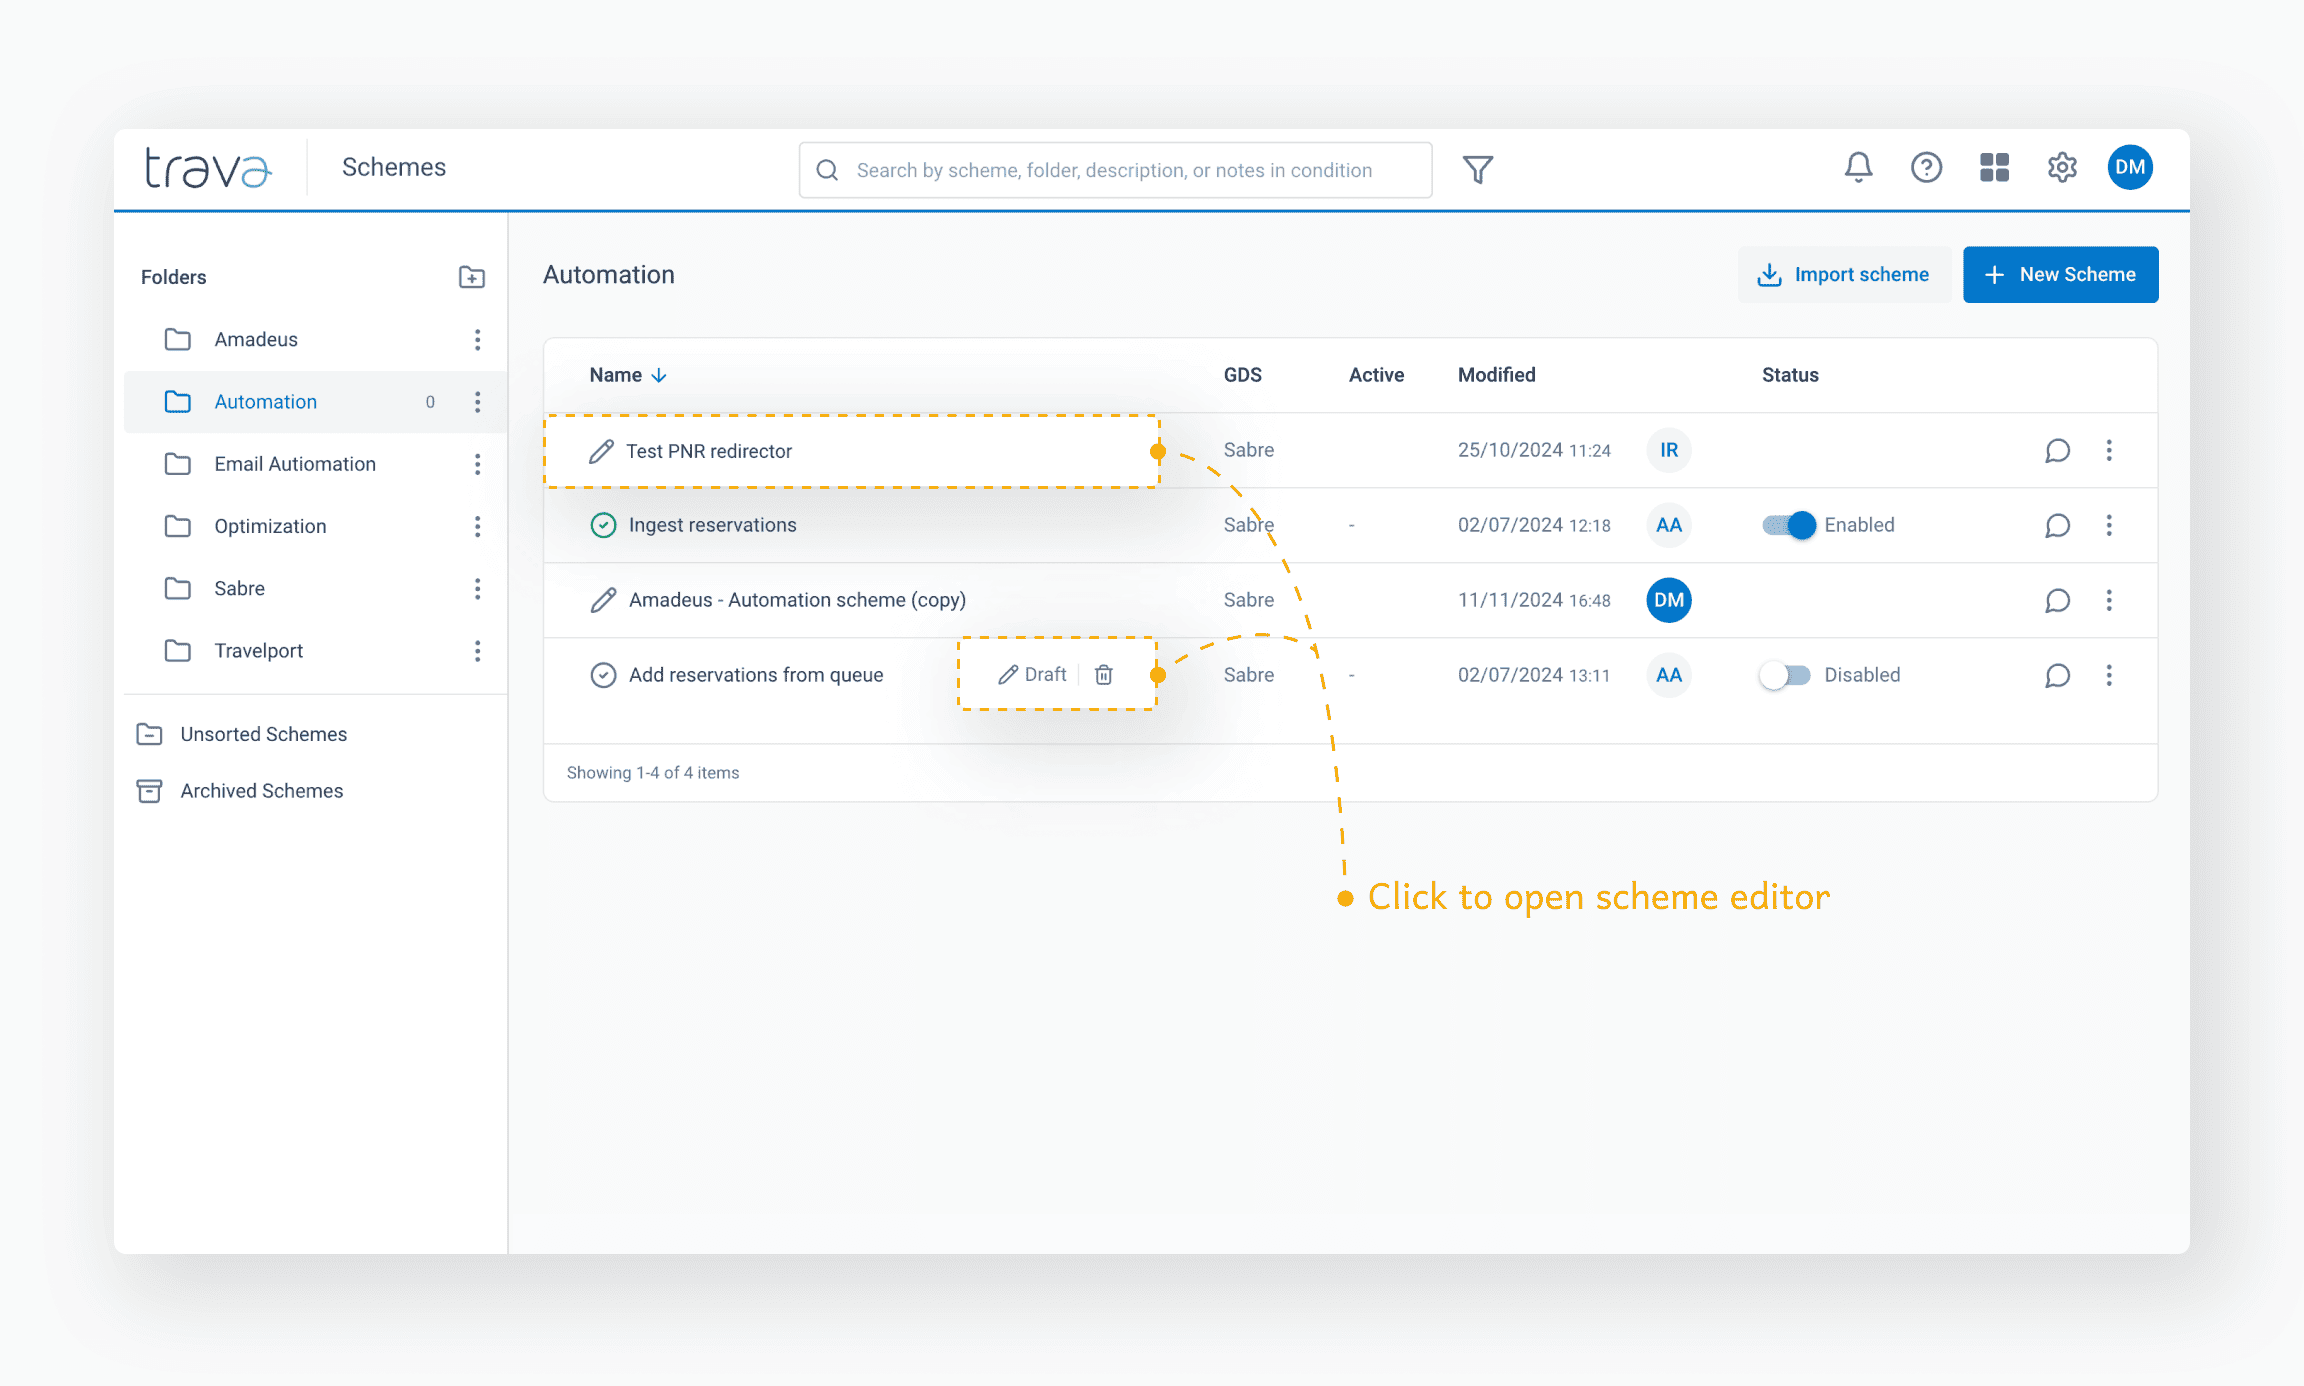
If you need to make changes to the draft, press it in the list, and the scheme editor will open. If you are making changes to the enabled scheme, press "Pencil".
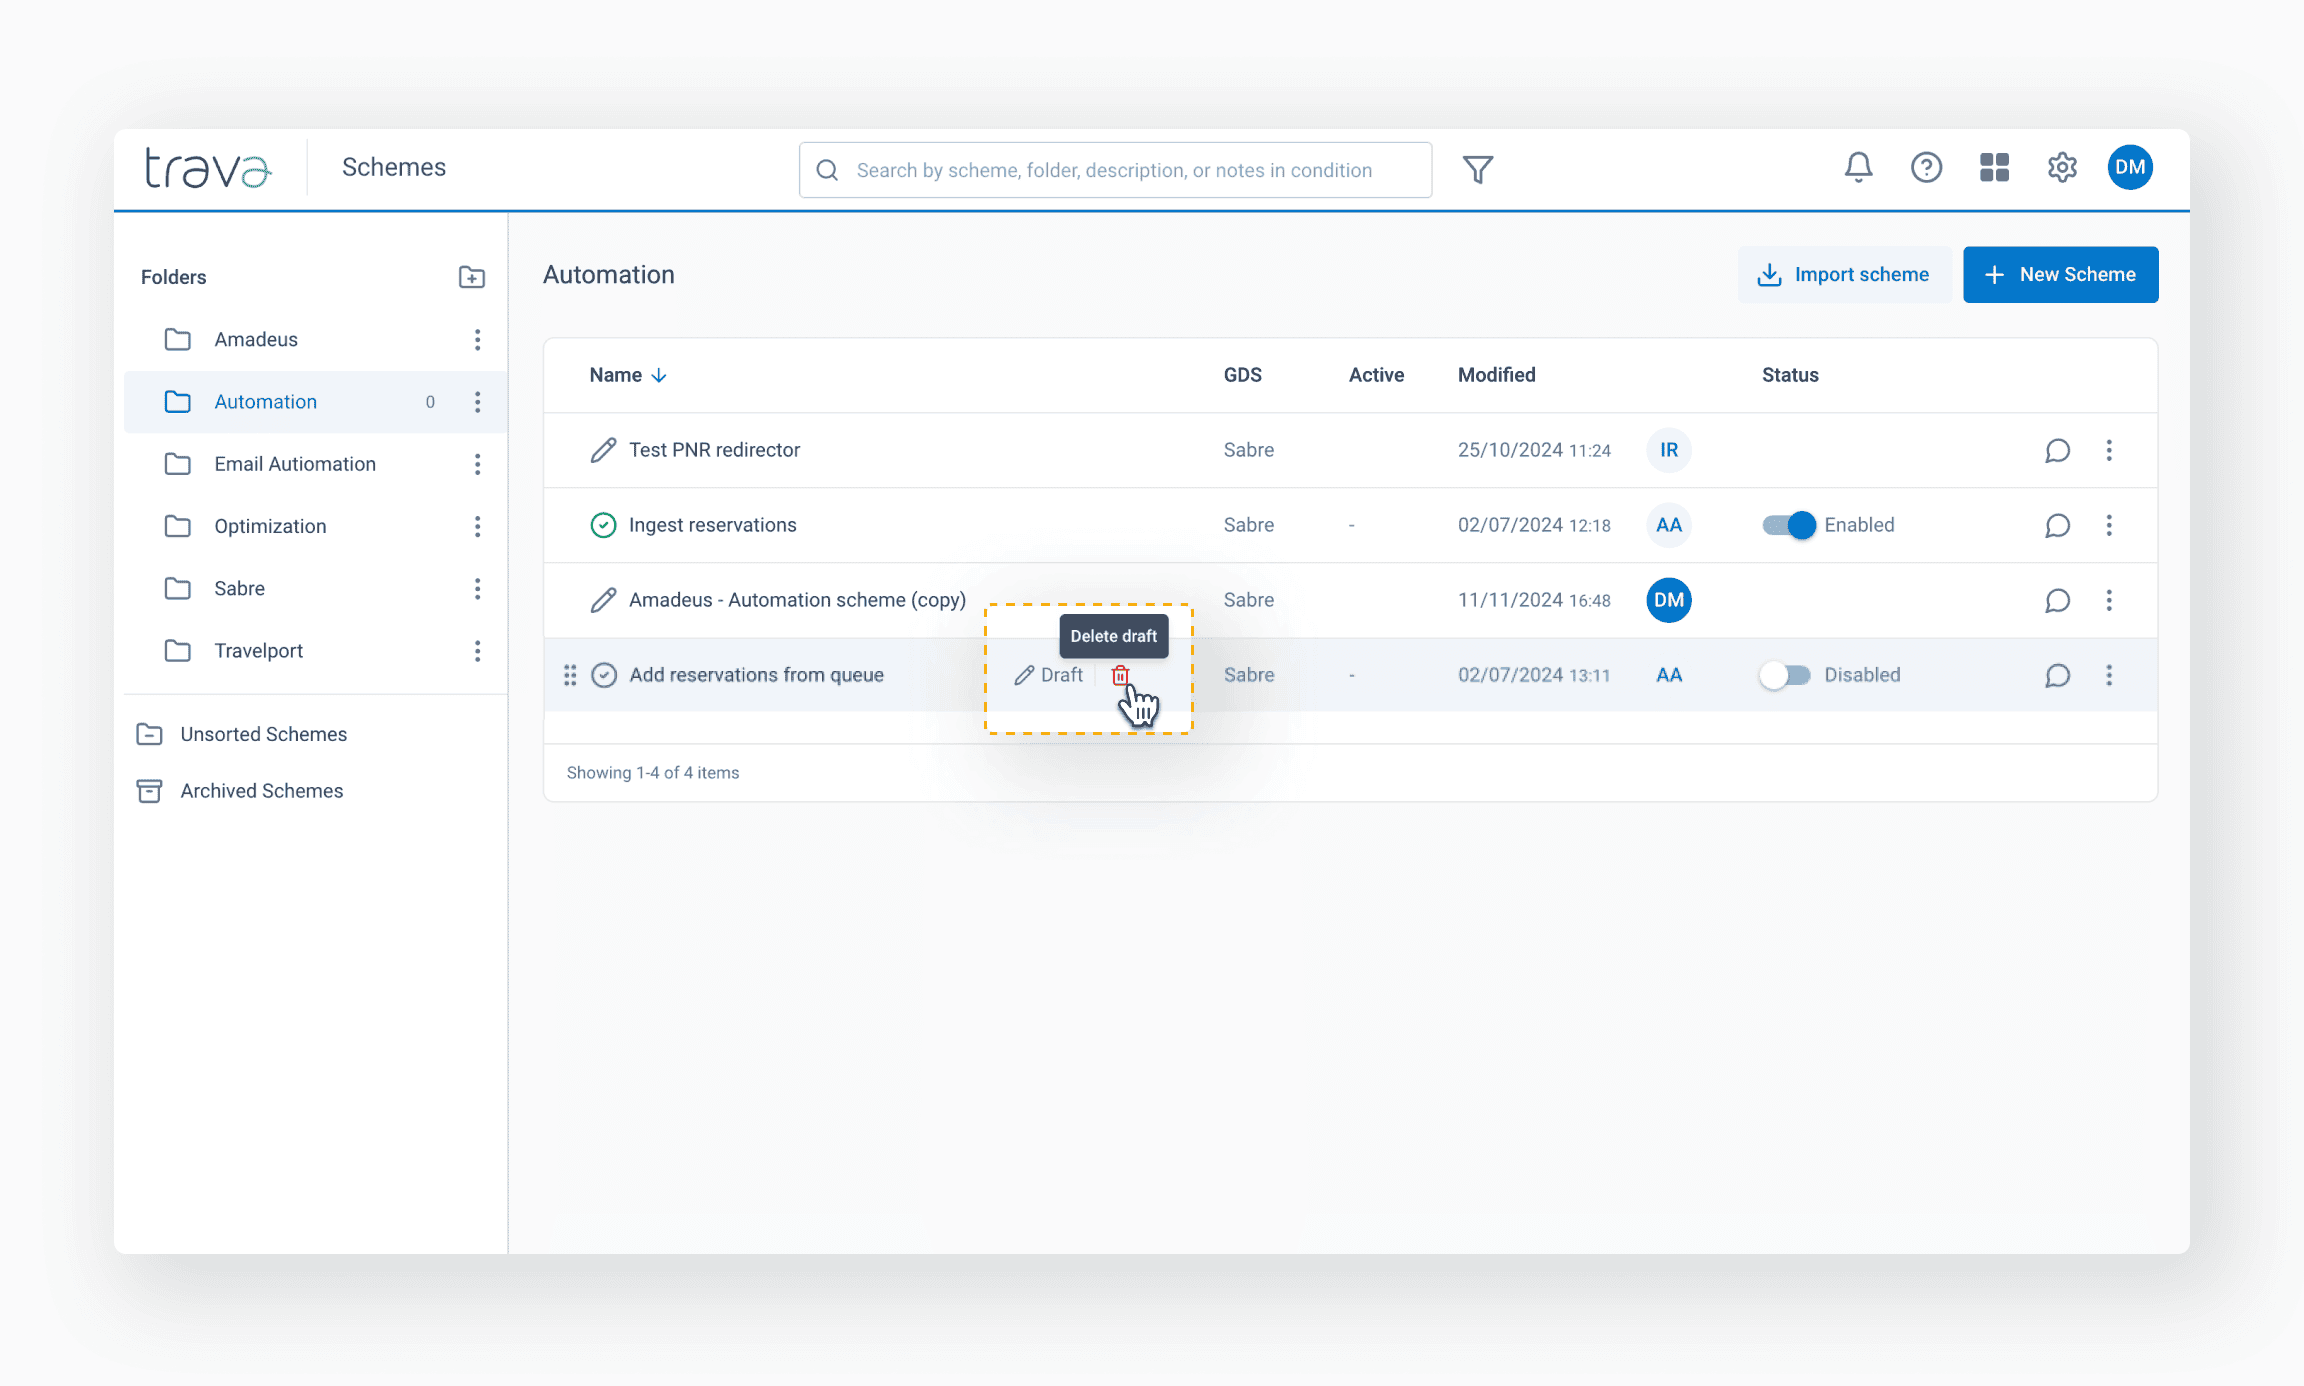
Unnecessary draft schemes can be deleted. To do this, press "Trash bin".
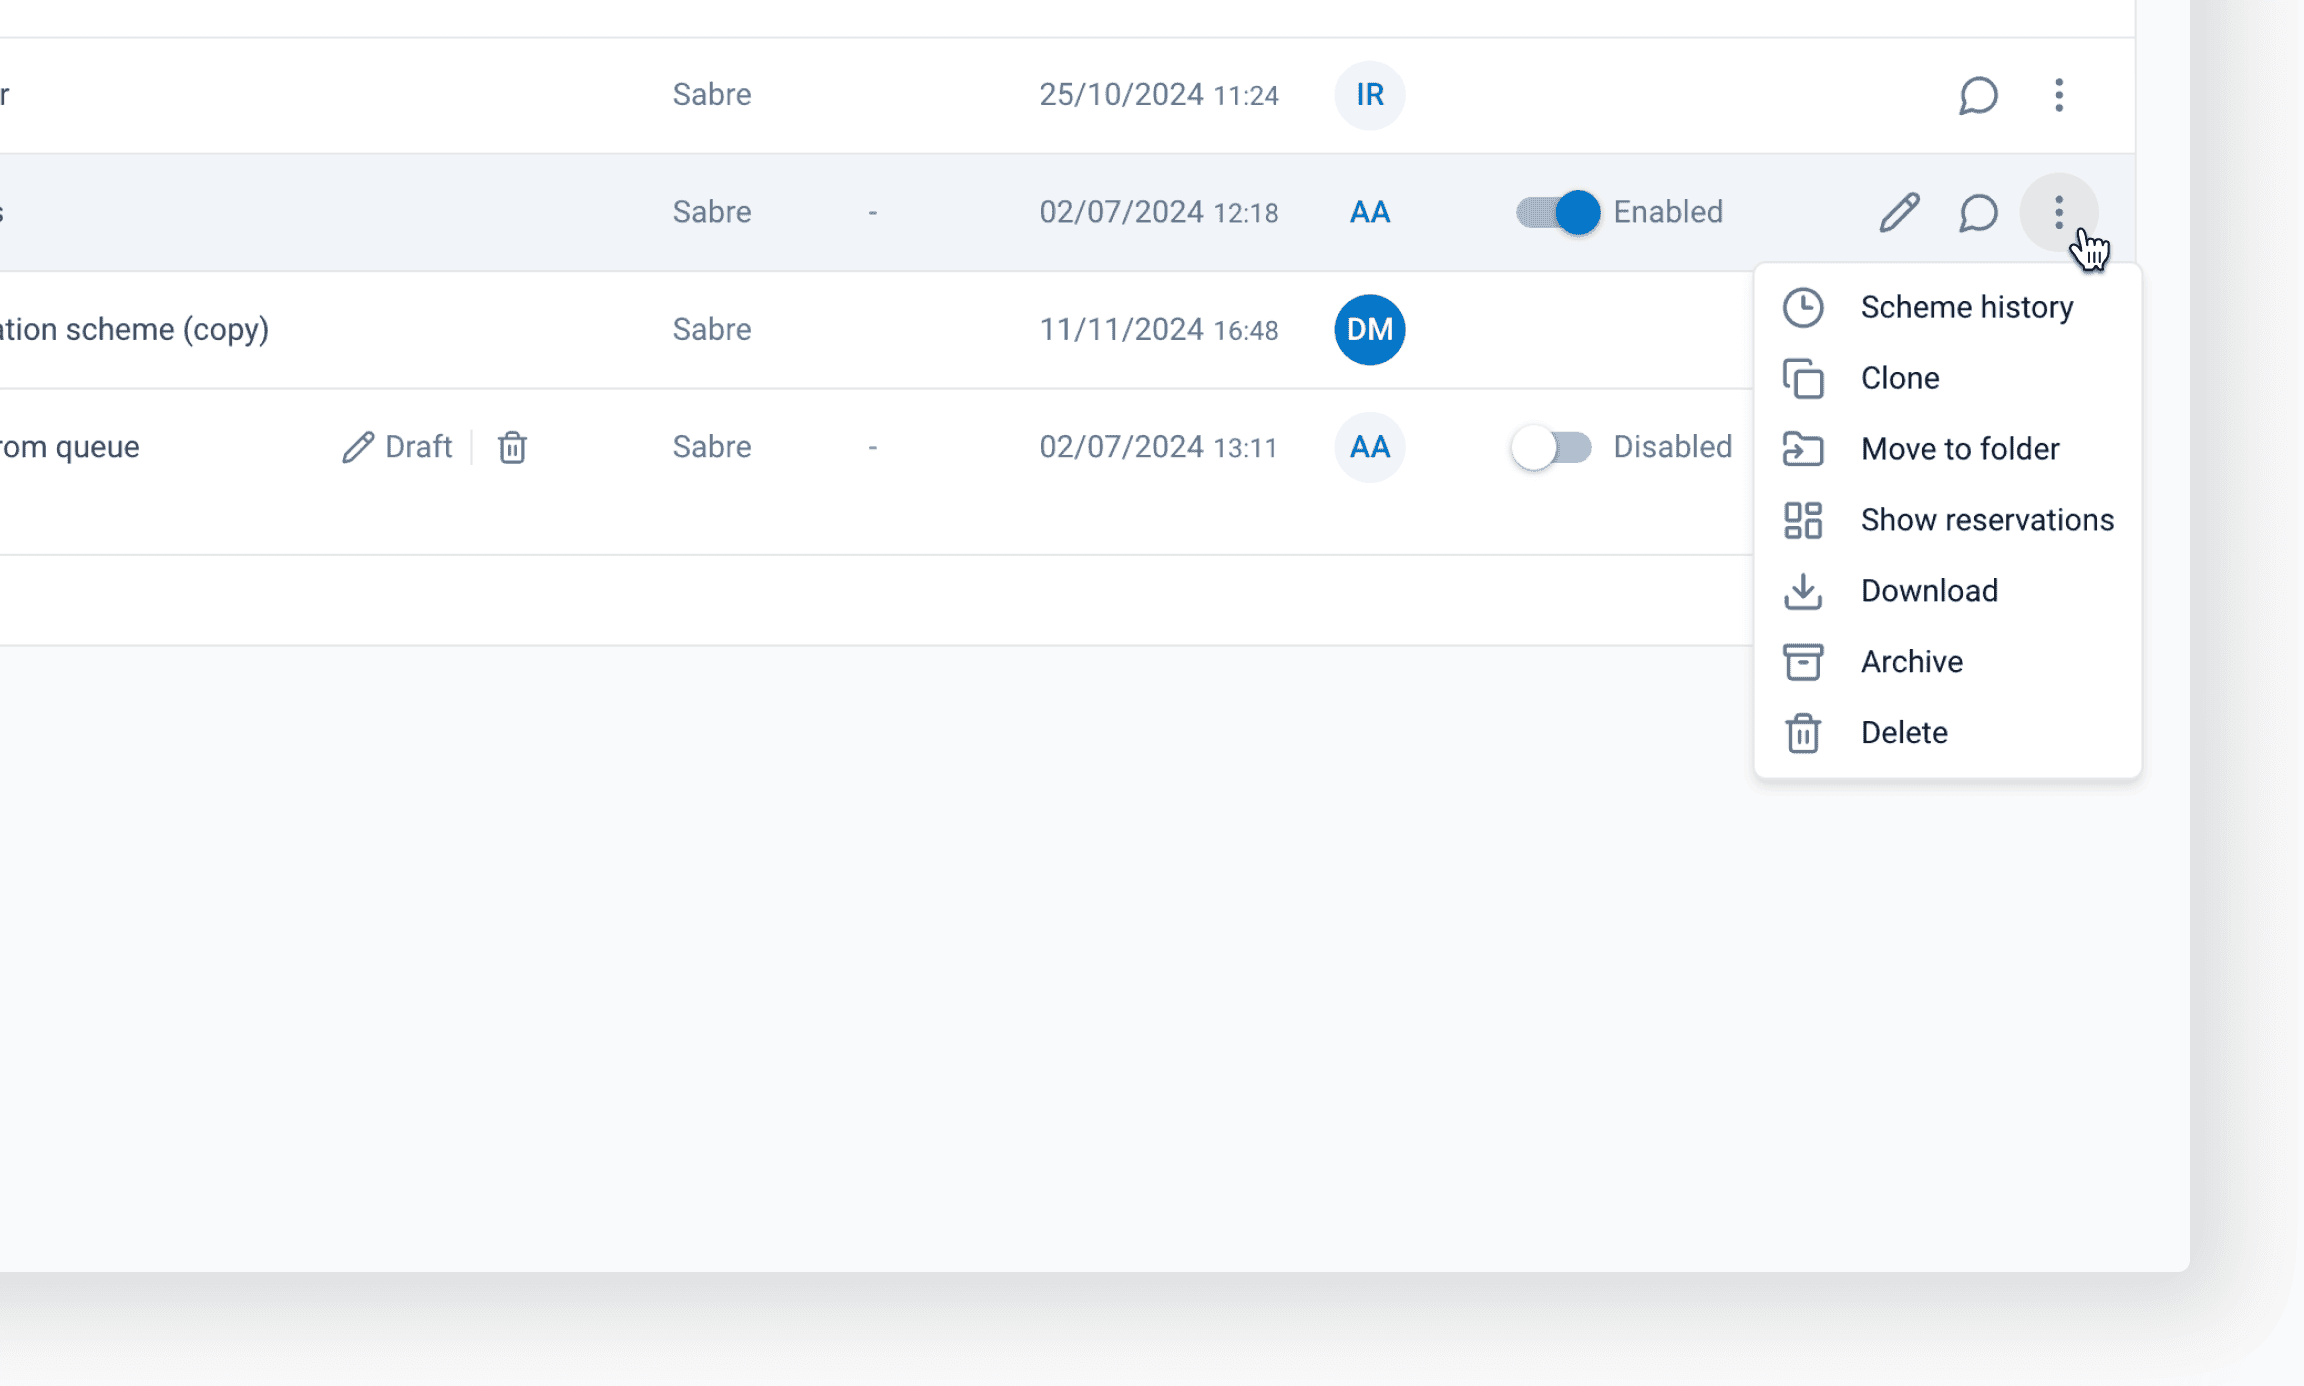
By pressing "Dots" at the end of the line, you'll open the actions menu:
- Scheme history: view the history of the scheme's editing
- Clone: clone the scheme. When cloning, all data, including Scheme properties, is duplicated fully.
- Move to folder: move the scheme to a folder located in the sidebar on the left
- Download: download the scheme in .json format. It can later be uploaded using the Import scheme button.
- Archive: archive the scheme. The scheme will be moved to the Archived folder. Restore it whenever you need it again.
- Delete: delete the draft or scheme